

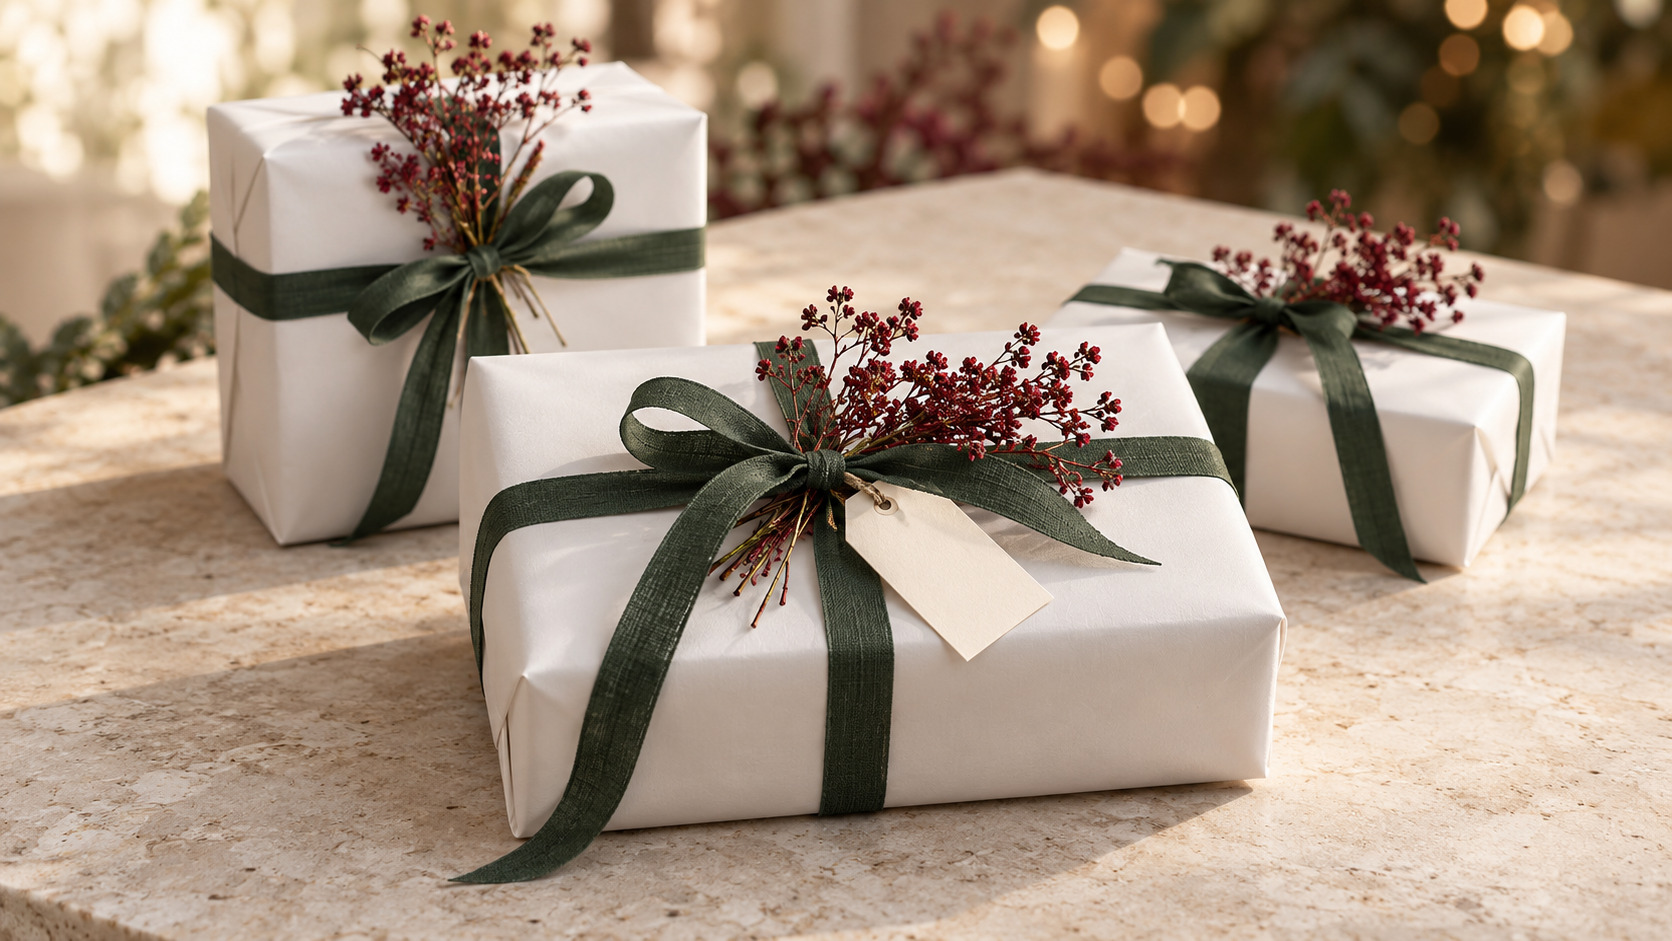
Paper, ribbon and a small botanical detail can turn a simple box into a coordinated gift. The result depends on how these elements work together: paper creates the base, ribbon introduces colour and the botanical detail finishes the package. The same method works for a personal present and for a series of gifts prepared in a shop.
Choose a colour palette first
Decide which colour will cover the largest area and which should catch the eye. A light base gives green or burgundy ribbon room to stand out, while a botanical detail can repeat one of the chosen colours. When preparing several gifts, keep the paper, ribbon style and gift-tag position consistent, adjusting their proportions to each package.
One practical combination is white, green and burgundy. White keeps the arrangement light, green defines the fastening and burgundy adds an accent. Before cutting, place the materials together and review them in the light of the space where you will present the gift.
Measure the paper around the box
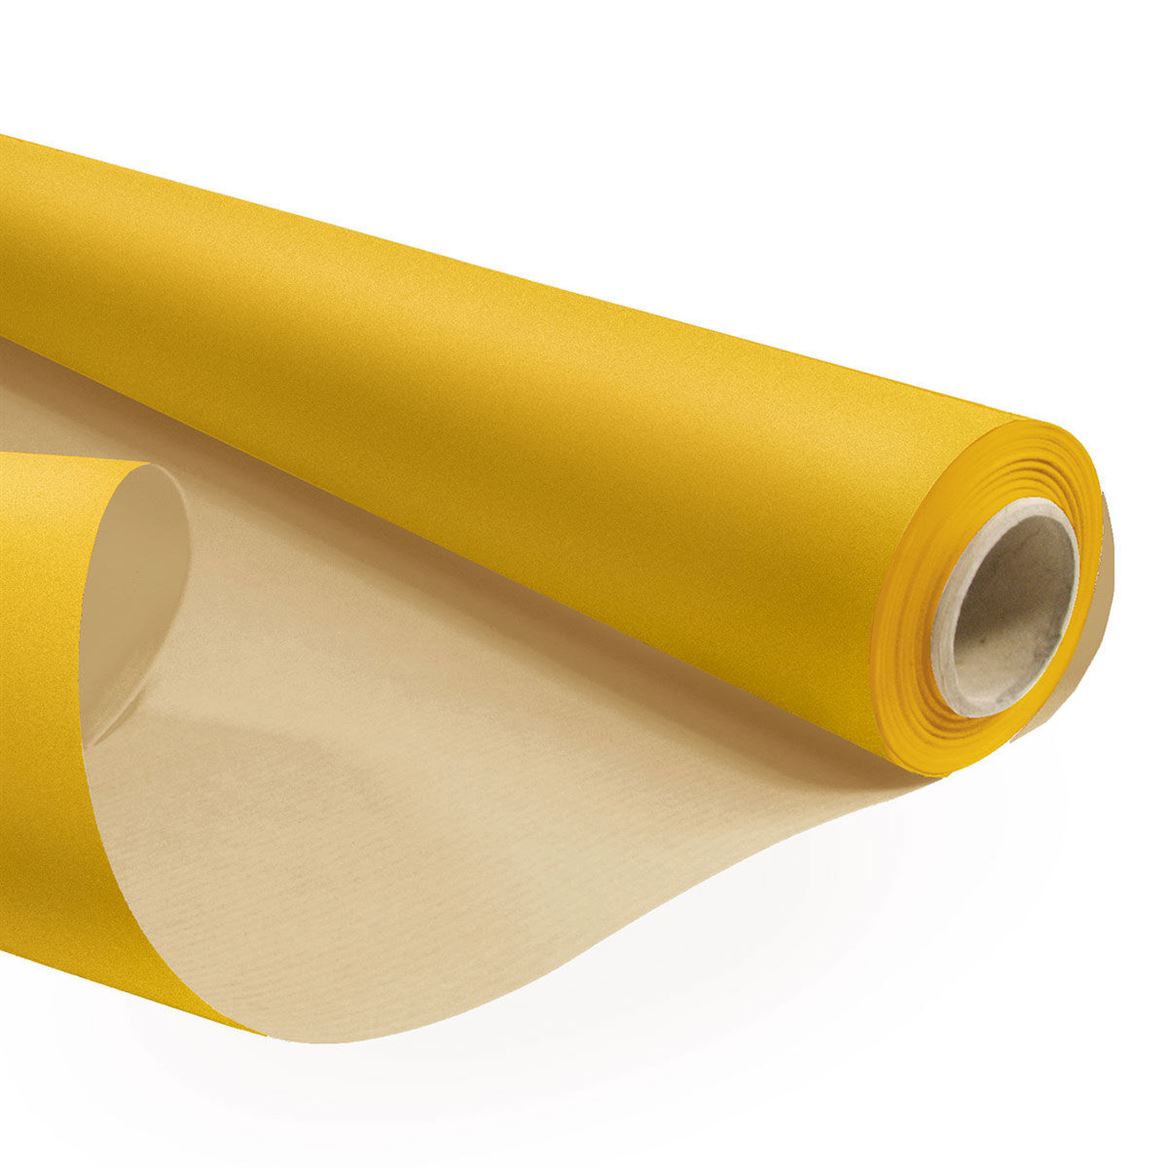
Begin with the white kraft paper roll measuring 1 × 25 m. Place the box on the sheet and test the wrap. Allow enough overlap to close the package and check that the ends can be folded without creating a bulky layer of paper.
Mark the cut after this trial. Smooth the paper, make neat folds along the edges and position the seam on the least visible side. For an irregularly shaped gift, a suitably sized box provides an orderly surface to wrap.
Give the ribbon a clear role
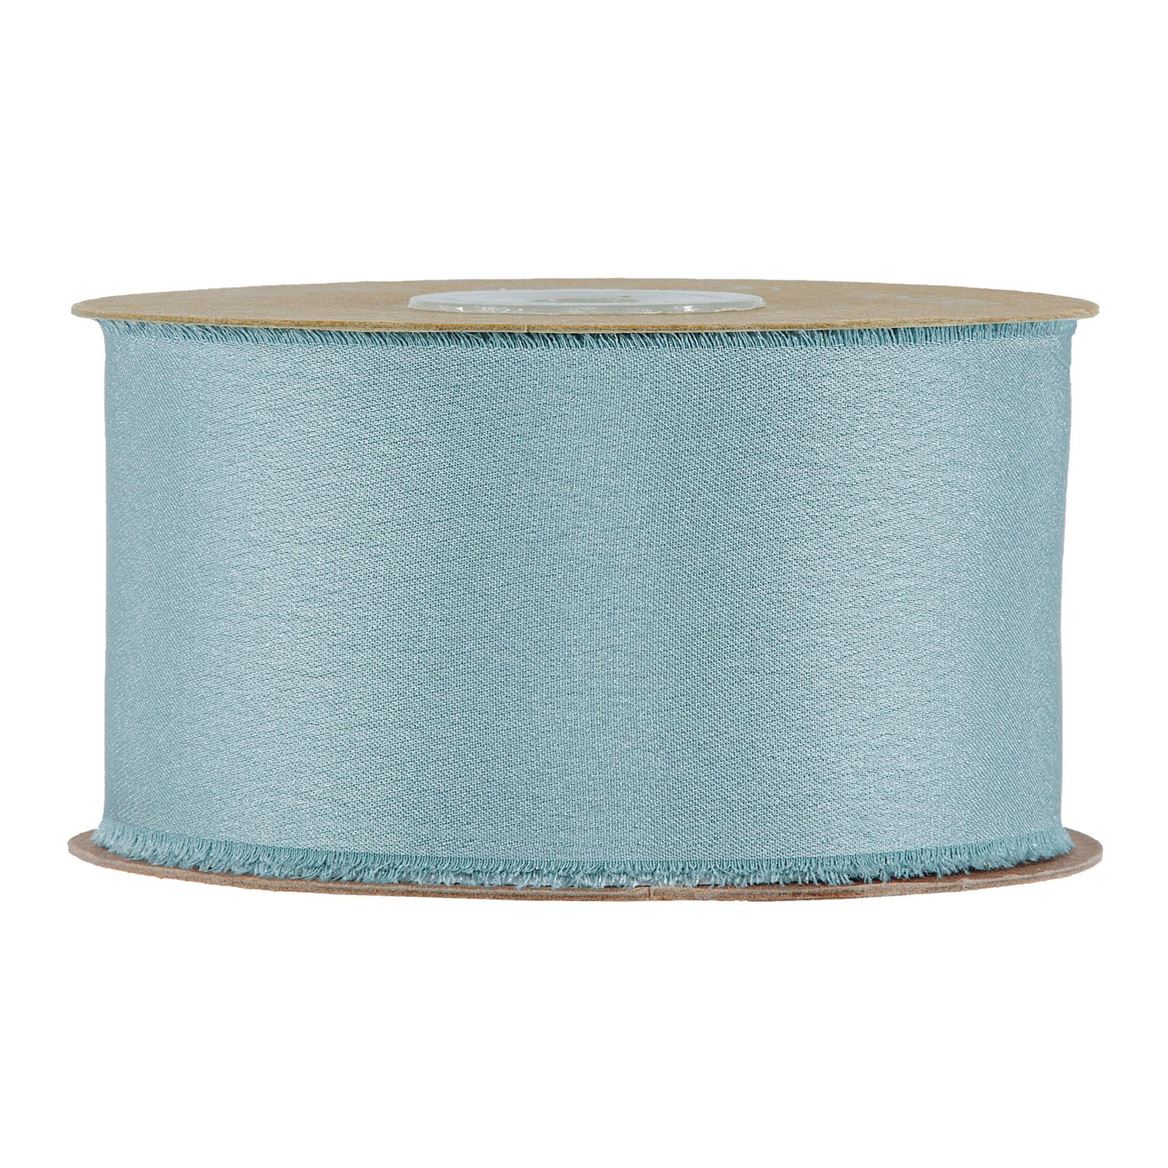
The green Taffetas ribbon measuring 25 mm × 50 m introduces colour through the fastening. Measure its route around the package, allowing enough length for the knot and the bow you intend to make.
Keep the ribbon flat and check that it does not twist around the corners. Size the loops to suit the package, leaving the tag and part of the paper visible. A simple knot with two neat tails can be enough when the botanical detail already draws attention.
Add a removable botanical detail
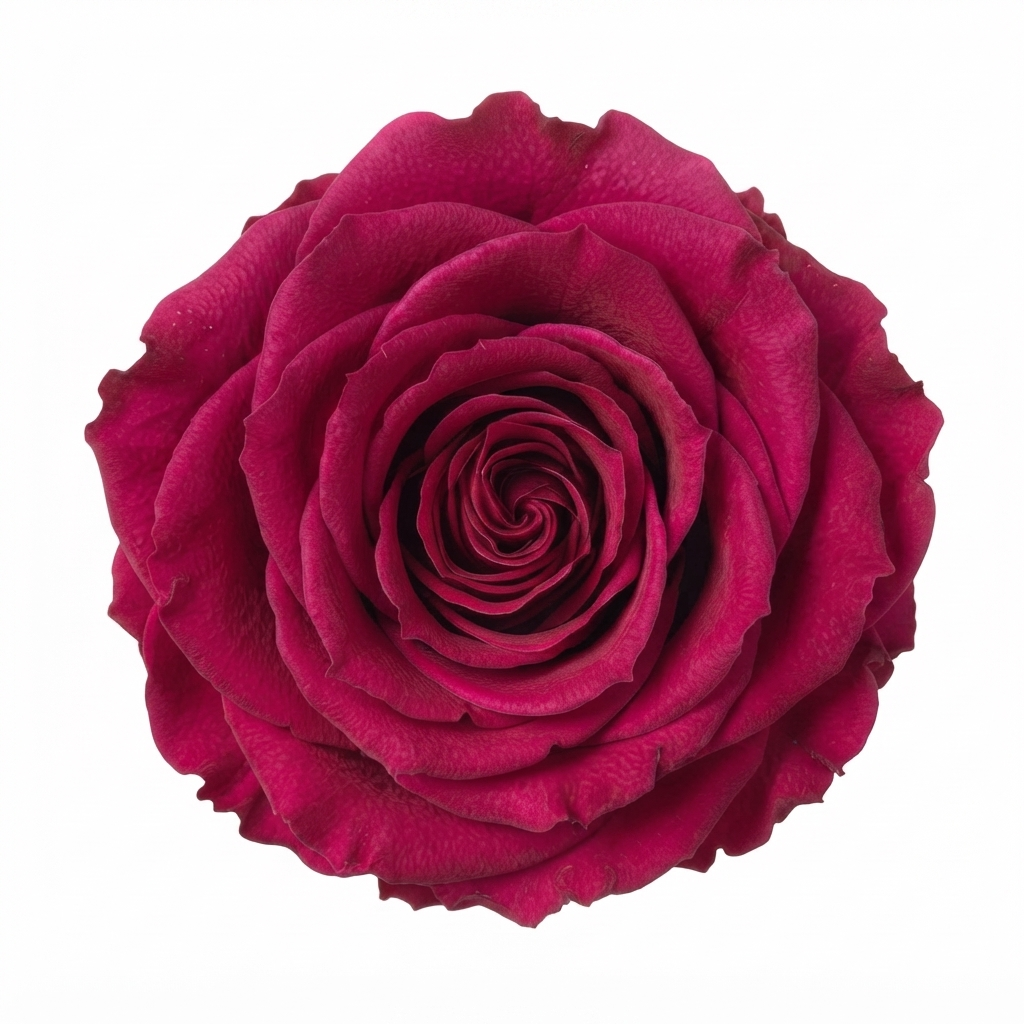
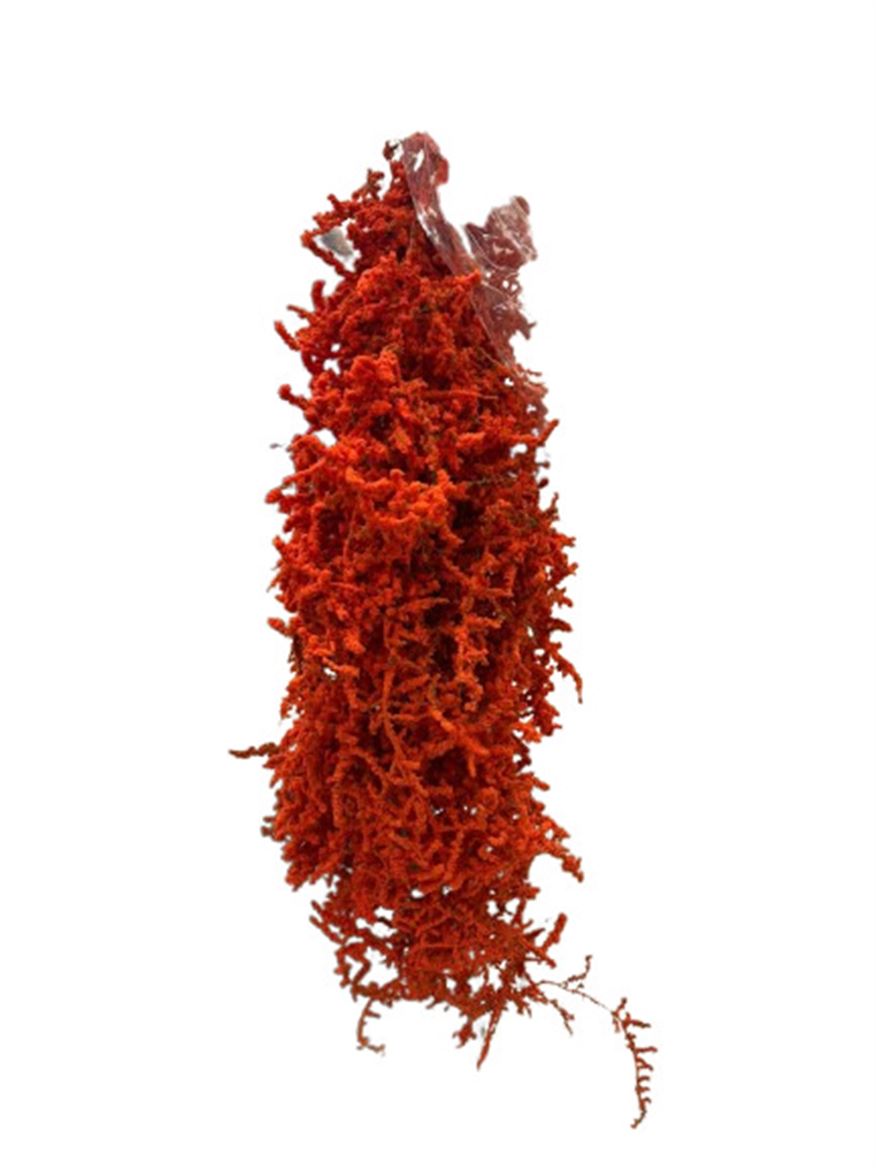
To repeat the burgundy accent, use a small portion of the 100 g Burgundy preserved limonium. Select a sprig that suits the size of the package and place it beside the knot, keeping its shape visible.
Attach it to the ribbon with a removable tie, avoiding glue directly on the paper. Position the stem so that it does not extend beyond the edge of the gift. The recipient can then separate the botanical detail when opening the package.
Make a sample before preparing a series
When wrapping several gifts, complete one sample first. Check the amount of paper, the ribbon length and the volume of the botanical detail, then keep the finished sample on your worktable as a reference.
Work in stages: cut paper for boxes of the same size, wrap the gifts, prepare the ribbons and add botanical details and tags at the end. Test a new size before cutting all the materials. The number of gifts you can wrap depends on the package dimensions, cutting pattern and fastening style.
Check the finished package
- The folds follow the shape of the box and the seam looks neat.
- The ribbon is in proportion and the tag can be read without moving the bow.
- The botanical detail is secure and removable.
- The package can be lifted and carried without crushing the decoration.
Start by coordinating the white kraft paper, green ribbon and burgundy limonium in the linked product pages. Make one sample package, then repeat the same choices to bring consistency to your Christmas gifts.